Servicing the Sigma Eurocomm SE HF 360 glass fibre vertical antenna
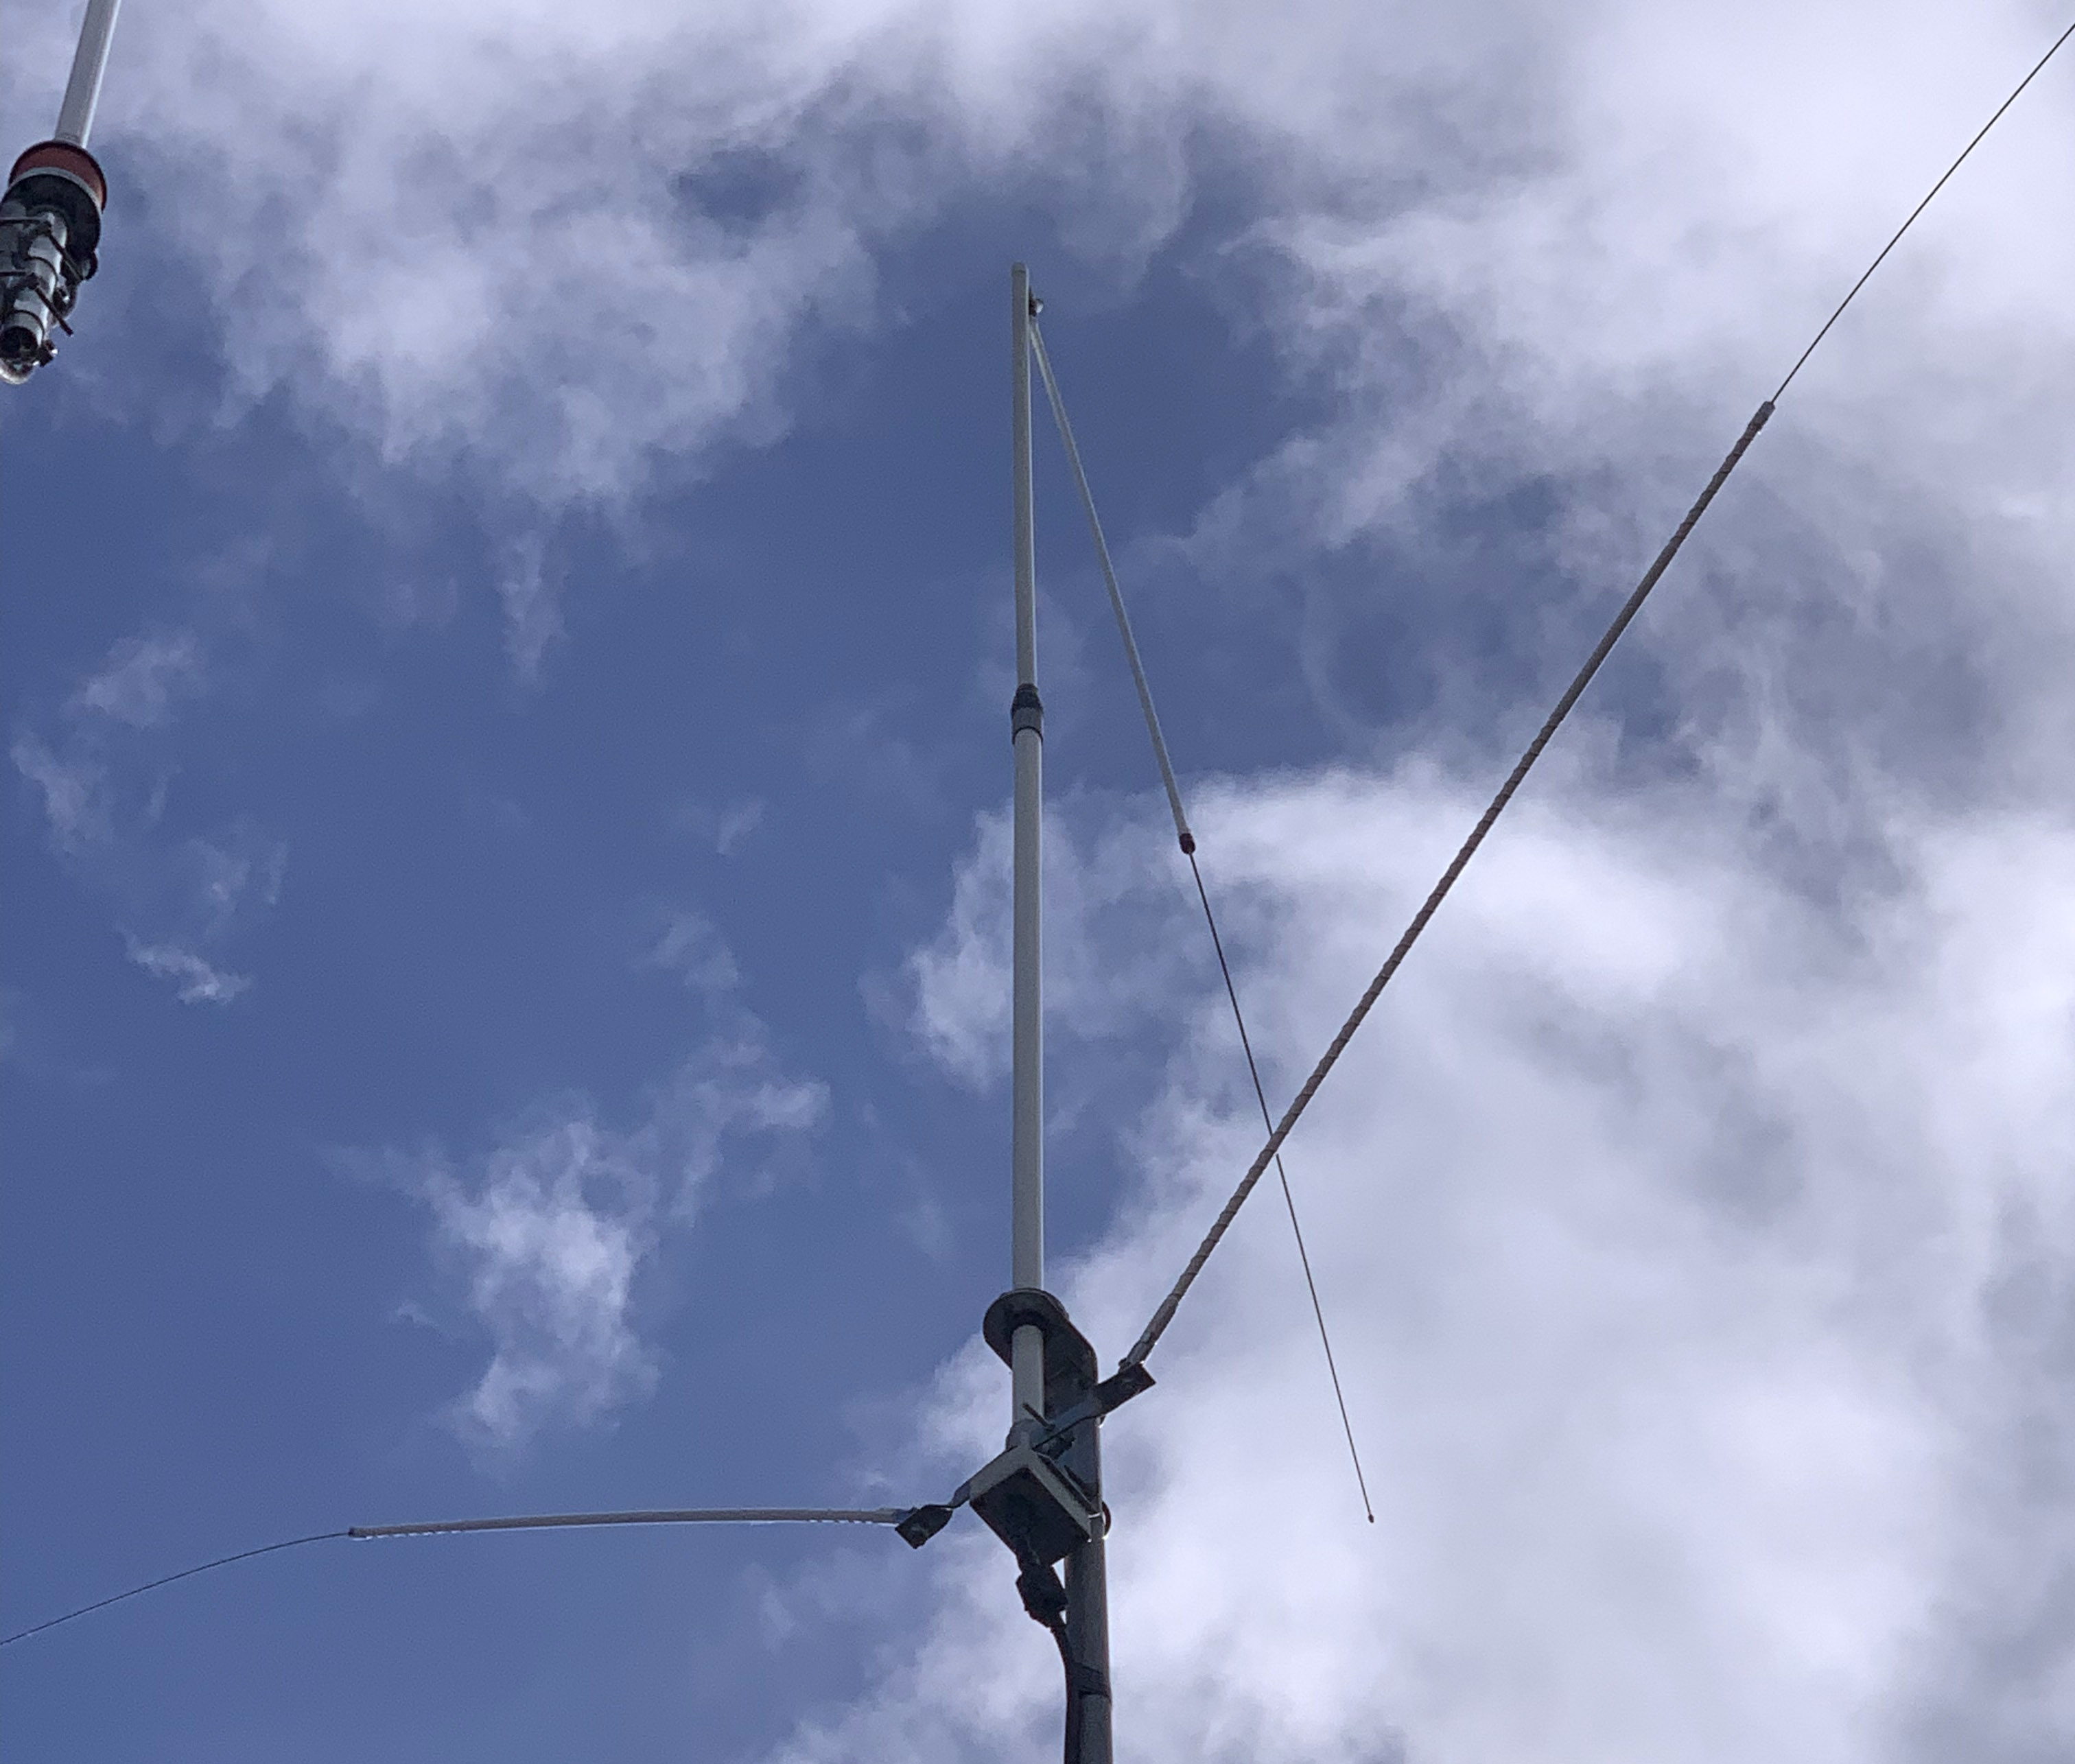
The Sigma Eurocomm SE-HF-360. is popular with IoAARC members - three of us have this antenna. It consists of three fibreglass sections about 1.2m long and a 1.2m whip, for a total height of ~ 4.8m. As this RSGB forum post says, the antenna is electrically equivalent to a 17ft vertical wire on top of an unun at the base. It is better at the higher bands, the side arms are the plus kit for 40 and 80m that improves things on the lower bands but isn’t pertinent to the repair.
You can make the same thing with a fishpole, which would be a good low-cost temporary rig. The SE HF 360 is more suited to a permanent installation, and you can get it higher on a metal support pole than a fishpole. One of our members had it on the roof. It failed in high winds early in 2019, and this article describes the antenna, the repair and steps that could be taken to improve its service life.
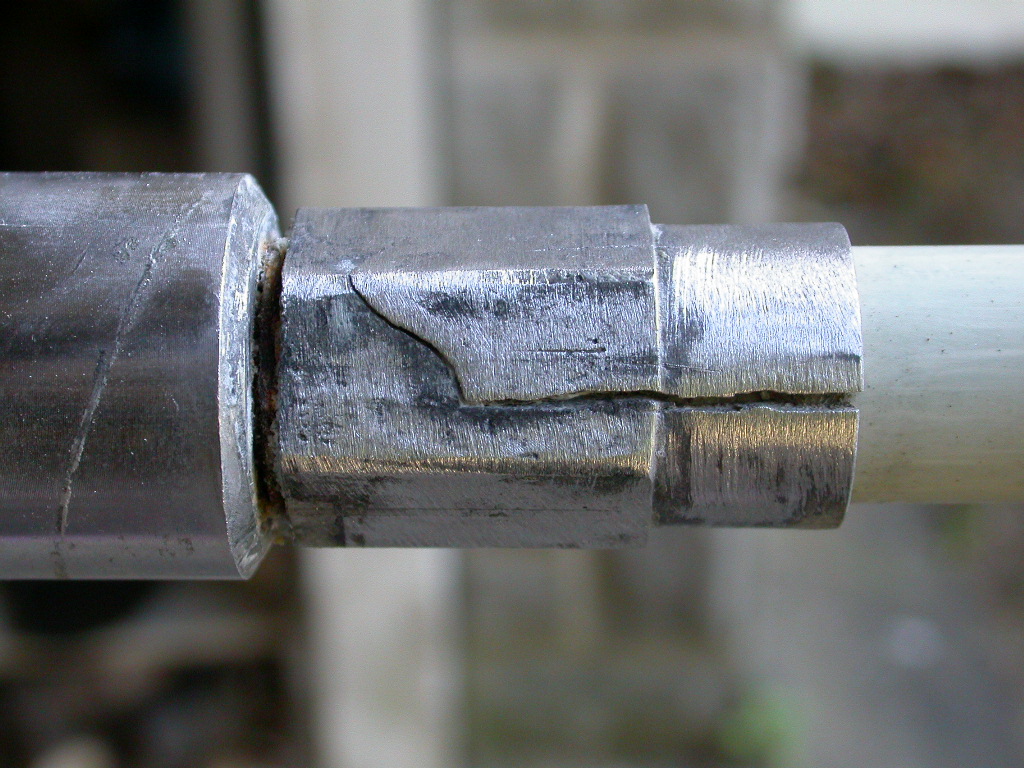
The problem is with the middle fibreglass section, which has two aluminium ferrules with threaded sockets. The ferrules are bonded to the fibreglass, and the sockets mate with the other parts of the antenna. A piece of flexweave runs inside the fibreglass tube and joins the ferrules electrically, it was this that prevented the top section falling to the ground.
Normally one would expect the fibreglass to snap off at the metal joint. In this particular case the metal failed. It looks like water got into the gap between the ferrule and the fibreglass. Perhaps alternately freezing and thawing, the ferrule at the top cracked and broke away from the fibreglass. The fibreglass tube was fine.
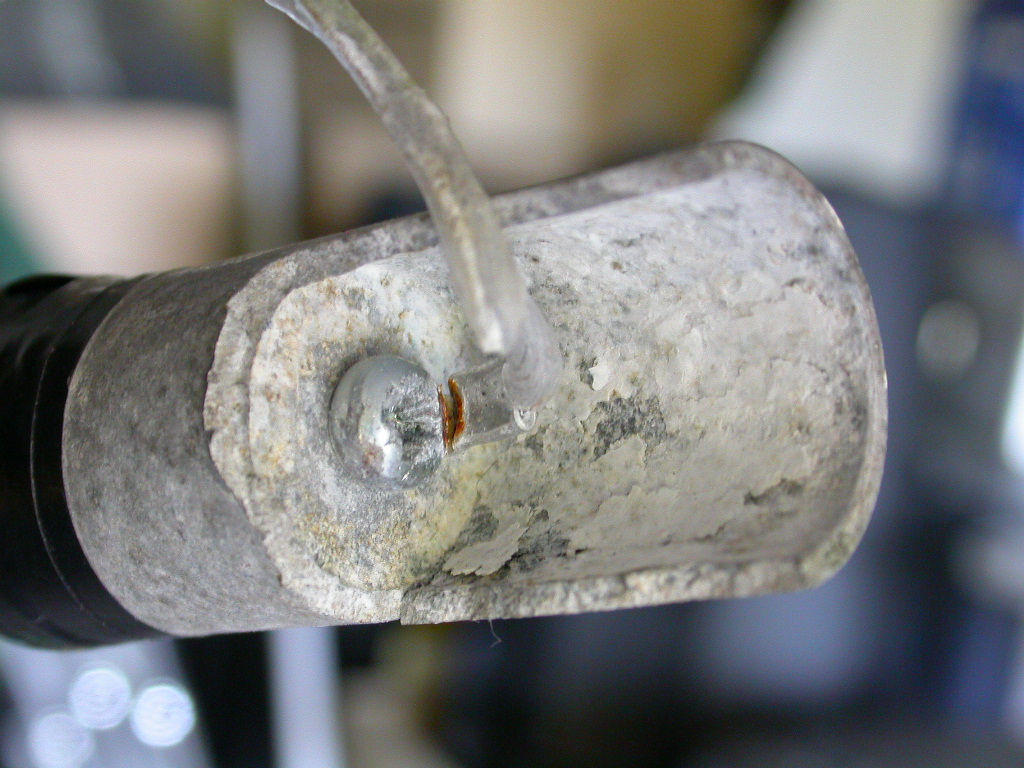
There was no trace of the original bonding to the fibreglass, and oxidation and water damage had made the aluminium friable. It looks like it is important to keep water out of this component, it can creep in along the fibreglass tube by capillary action.
There is another ferrule a the bottom of this section which was also showing signs of wear. It’s easy enough to see how water can get into that, rain running down the aerial will be led straight into the top of this part, which developed a crack.
I first considered a repair, using a stainless steel jubilee clip for the bottom ferrule and fibreglass tape and epoxy for the top. However, since this was all part of one component I asked Sigma Eurocomm if they would sell me this middle fibreglass section on its own, which they will, for £27 including delivery, which is more attractive than the epoxy route as it will renew these failed parts rather than repair. Goodbye cracked metal parts, rather than trying to set them in epoxy and fibreglass.
Testing the unun and base of the aerial
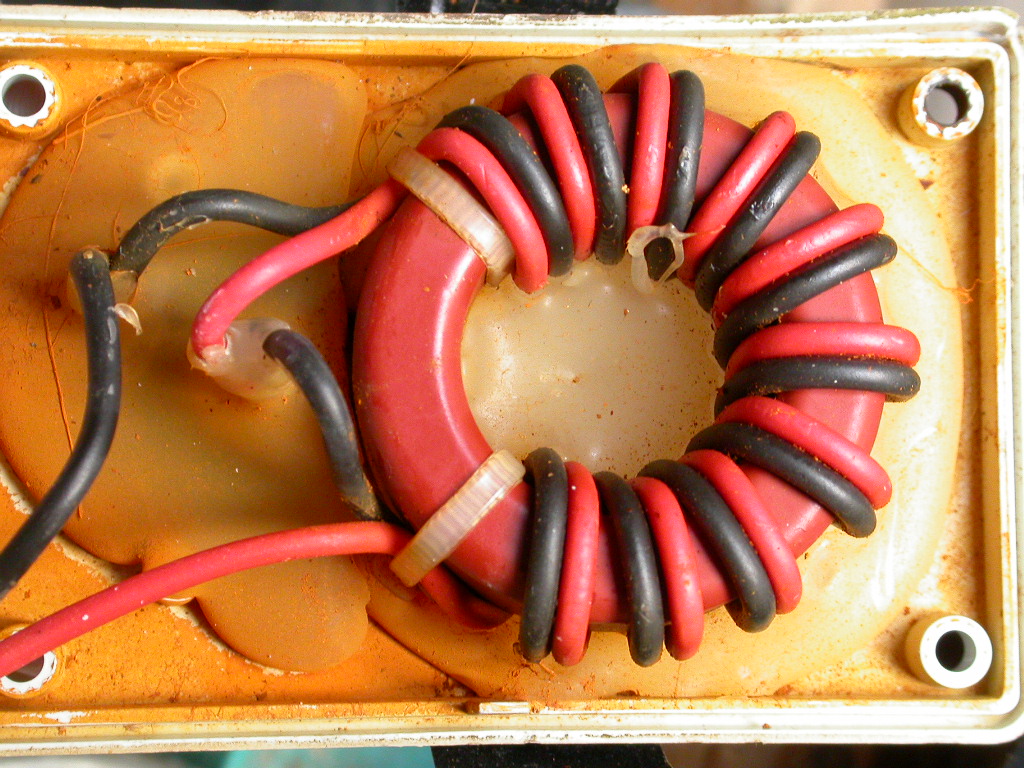
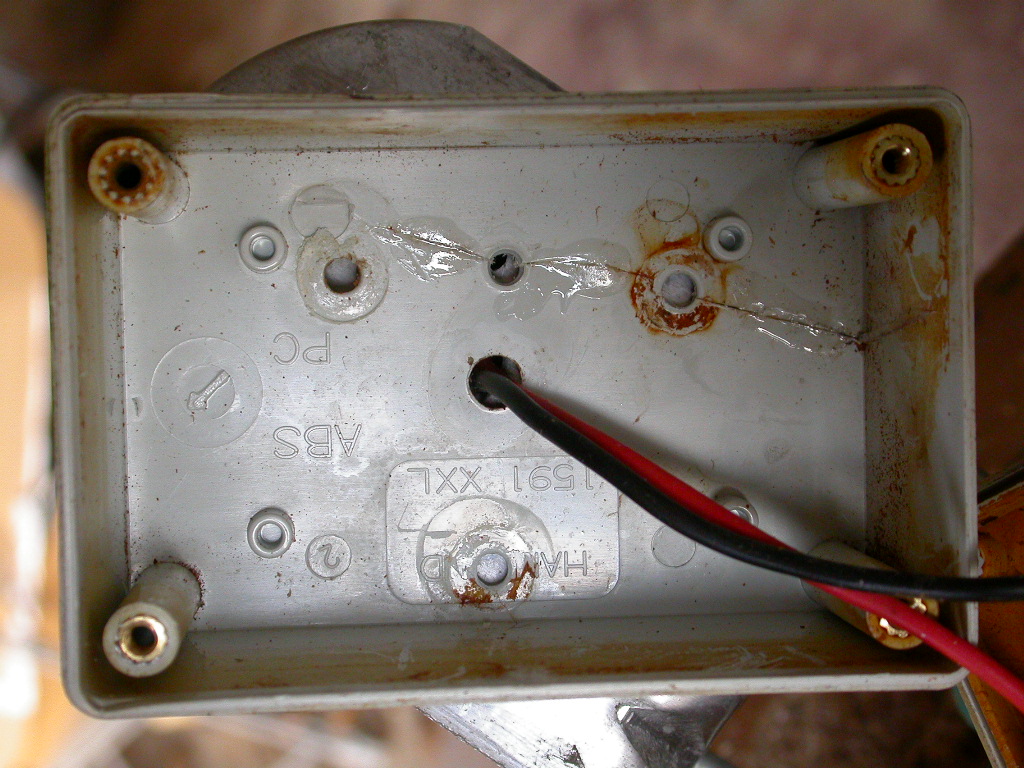
There is an unun at the base of the aerial, it looks like a 4:1 unun to me, though I have seen it described as a 9:1 by some sellers and oddly enough on the manufacturer’s website it is called a 6:1 unun
A 6:1 UNUN transformer is located in an IP65 weather sealed box at the bottom of the bracket section of the fibre glass elements.
which puzzles me. It looks to me like a 4:1 Ruthroff unun, an autotransformer with the black wire across the input and the red wire stacked on top and the free end feeding the aerial.
The box at the base had cracked, so I glued the crack back together using Marley ABS jointing cement for water pipes. There are already plenty of mounting holes in this facing the aerial, so I wasn’t looking for waterproofing. I would also have had to disconnect the red wire from the aerial to replace this, or break out the unun from the hot melt glue on the base. The red aerial wire was riveted and looked tough to reconnect.
I measured continuity to the aerial via the ferrule at the top of the base section, which as good. However, continuity to the metal bracket was about one ohm, which didn’t look right to me. Thus bracket which would be connected of the mounting pole and is the counterpoise of the vertical (as well as the coax feed :( )

Further investigation showed this rivet has come loose. Possibly this is what cracked the top of the box, as the rivet expanded in the hole. There’s a case to replace this with a stainless steel bolt and nut, and ream out the ABS box to clear the nut, so I can get enough force on the bolt without the plastic.